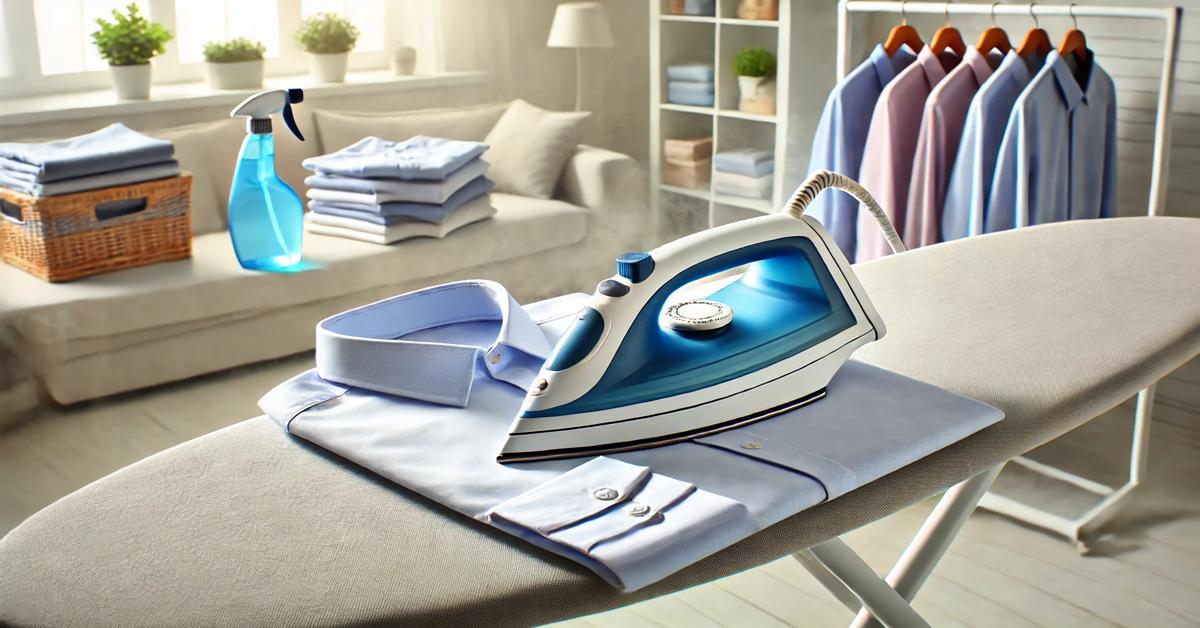
Ironing a shirt can seem straightforward, but achieving a crisp, wrinkle-free finish requires the right technique. Whether preparing for an important meeting, a job interview, or simply wanting to look sharp, here’s how to iron a shirt step-by-step to ensure a perfect finish every time.
Why Proper Shirt Ironing Matters
A well-ironed shirt can make a huge difference in your appearance, boosting confidence and showing professionalism. Let’s explore the steps to achieve that flawless, polished look.
Step 1: Prepare Your Shirt and Ironing Area
To start, make sure you have all the essentials.
- Use a Clean, Damp Shirt: Begin with a freshly washed shirt that is slightly damp. If it’s dry, mist it lightly with water. Moisture makes it easier to smooth out wrinkles.
- Set Up Your Ironing Board and Iron: Place your ironing board in a well-lit space. Adjust your iron’s temperature based on the fabric type (e.g., cotton, polyester).
Pro Tip: Always use distilled water in your iron to avoid mineral buildup, especially if you live in a hard water area.
Step 2: Start with the Collar
Begin with the collar for a neat, professional look.
- Iron the Inside of the Collar First: Lay the collar flat, starting from the edges and moving toward the center. Flip and repeat on the outside.
- Ensure a Crisp Finish: Apply even pressure without holding the iron in one spot for too long to avoid scorching.
Step 3: Iron the Cuffs
The cuffs need careful attention as they’re often the most visible part.
- Unbutton and Lay Flat: Iron the inside first, starting from the edges toward the center. Flip and iron the outside.
- Avoid Ironing Over Buttons: Iron around the buttons to prevent damage.
Step 4: Tackle the Sleeves
Sleeves can be tricky but manageable.
- Lay the Sleeve Flat: Align the sleeve seams and smooth out any wrinkles.
- Iron from Shoulder to Cuff: Start at the shoulder and work your way down to the cuff. Repeat on the other side.
Tip: Use a sleeve board or a rolled-up towel to prevent creases on the sleeves.
Step 5: Iron the Shirt Body
Focus on the main part of the shirt for a smooth finish.
- Begin with the Front Panels: Use smooth, long strokes, carefully ironing around buttons and pleats.
- Move to the Back: Iron the back panel from top to bottom. Pay extra attention to any pleats.
Step 6: Final Touches
Finish with a quick inspection.
- Hang Immediately: Once finished, hang the shirt on a hanger to maintain its crispness.
Extra Tips for Perfect Shirt Ironing
- Iron in Good Lighting: Proper lighting helps you see every wrinkle.
- Use Starch for Extra Crispness: Consider a light starch spray for a professional look.
Common Mistakes to Avoid When Ironing a Shirt
To ensure the best results, avoid these common mistakes:
- Using the Wrong Heat Setting: Always check the fabric label and set the iron to the recommended heat level.
- Ironing Over Stains: Never iron directly over stains, as the heat can set them permanently.
Frequently Asked Questions About Ironing Shirts
Q1: How often should I iron my shirts?
Iron shirts as needed, typically after washing and before wearing.
Q2: What if my shirt has a stubborn wrinkle?
Use a steam setting or mist the wrinkle lightly with water, then iron with even pressure.
Boost Your Wardrobe with a Well-Ironed Shirt
Mastering the art of ironing will keep you looking sharp and put together for any occasion. With these tips, you’ll achieve a perfectly ironed shirt every time.
For more home tips and professional services in Northamptonshire, contact Natly Services. We’re here to help with all your household needs! Visit natlyservices.uk/contact or email us at contact@natlyservices.uk.